How to Make Liquid Fertilizer with Coffee Grounds is a simple and effective way to give your plants a boost of nutrients. Coffee grounds are rich in nitrogen, phosphorus, and potassium, which are essential for healthy plant growth. The process of composting coffee grounds is a natural and sustainable way to recycle this waste product and create a valuable fertilizer for your garden.
There are several methods for making liquid fertilizer with coffee grounds. One common method involves soaking coffee grounds in water for a few days, then straining the mixture to create a nutrient-rich liquid. Another method involves brewing coffee grounds in a strong batch of coffee, then diluting the coffee with water to create a fertilizer solution.
Once you’ve created your liquid fertilizer, it’s important to use the appropriate dilution ratio for different plants. Over-fertilizing can be harmful to plants, so it’s crucial to follow the instructions carefully.
Introduction
Coffee grounds, a readily available byproduct of brewing coffee, are a valuable resource for enriching your garden. They offer a wealth of nutrients and benefits for plant growth, making them a natural and sustainable addition to your fertilizer arsenal. Coffee grounds are rich in nitrogen, an essential nutrient for promoting healthy foliage and vibrant green growth.
They also contain phosphorus, which contributes to strong root development and flowering, and potassium, which aids in overall plant vigor and disease resistance.
Composting Coffee Grounds
Composting coffee grounds is a simple and effective way to break down the organic matter and release the nutrients they contain. The process involves combining coffee grounds with other organic materials, such as leaves, grass clippings, and food scraps, in a designated compost bin or pile.
This mixture creates an ideal environment for microorganisms to thrive and decompose the organic materials. As the composting process progresses, the coffee grounds break down into a nutrient-rich compost that can be used to fertilize your plants.
Making Liquid Fertilizer
Coffee grounds are a rich source of nitrogen, phosphorus, and potassium, which are essential nutrients for plant growth. By composting or using them to create liquid fertilizer, you can give your plants a boost and reduce waste.
Methods for Making Liquid Fertilizer with Coffee Grounds
There are a few different methods you can use to make liquid fertilizer with coffee grounds. Here are three popular methods:
Brewed Coffee Method
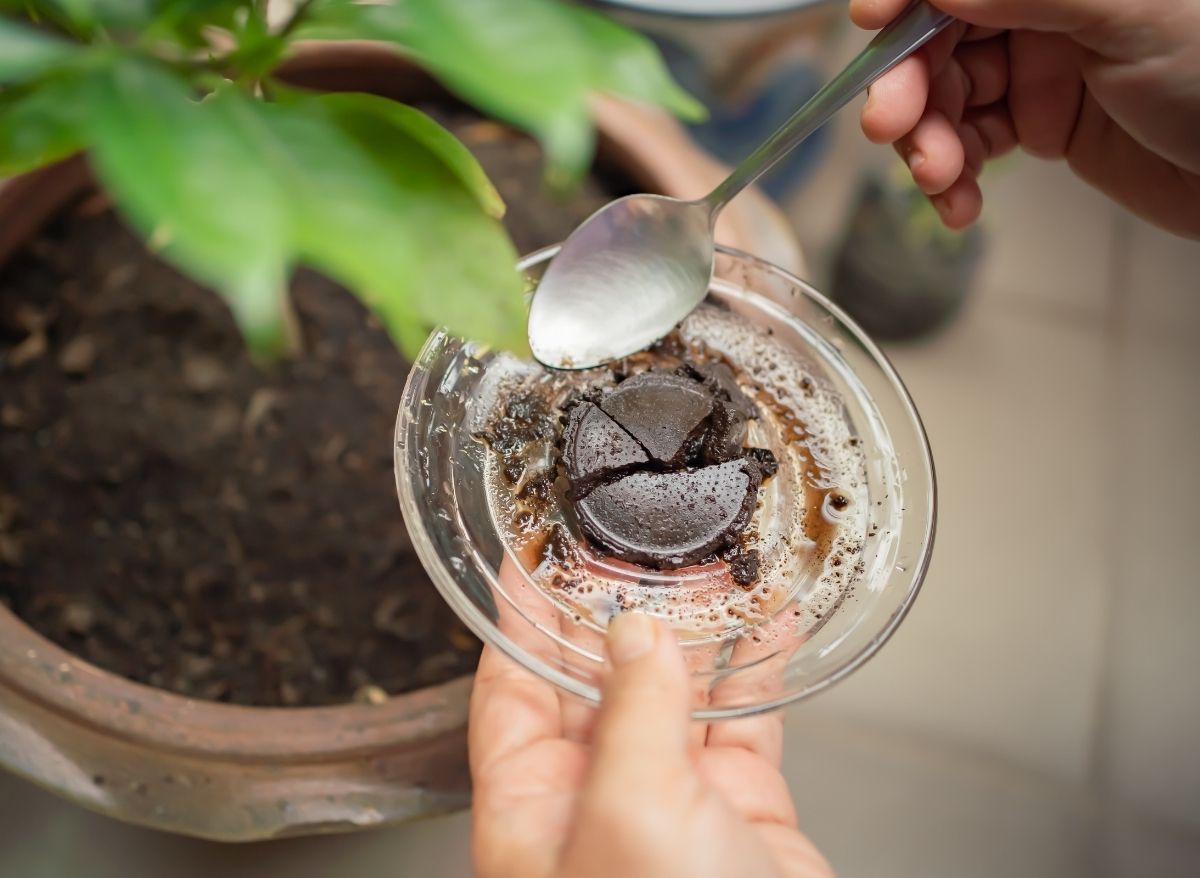
This method is simple and requires minimal effort. You simply need to save your used coffee grounds and combine them with water.
- Ingredients:
- Used coffee grounds
- Water
- Steps:
- Collect used coffee grounds from your coffee maker or French press.
- Place the grounds in a container and add water, ensuring the grounds are fully submerged.
- Let the mixture sit for a few days, stirring occasionally.
- Strain the mixture through a cheesecloth or coffee filter to remove the grounds.
- The resulting liquid is your coffee ground fertilizer.
Compost Tea Method
This method involves brewing a “tea” from your coffee grounds and other compost materials.
- Ingredients:
- Used coffee grounds
- Compost
- Water
- Optional: molasses or other organic fertilizer
- Steps:
- Combine coffee grounds, compost, and water in a container.
- Add molasses or other organic fertilizer if desired.
- Let the mixture sit for a few days, stirring occasionally.
- Strain the mixture through a cheesecloth or coffee filter to remove the solids.
- The resulting liquid is your compost tea fertilizer.
Cold Brew Method
This method involves steeping coffee grounds in cold water for an extended period.
- Ingredients:
- Used coffee grounds
- Water
- Steps:
- Place coffee grounds in a container and add water.
- Let the mixture sit in a cool, dark place for 1-2 weeks, stirring occasionally.
- Strain the mixture through a cheesecloth or coffee filter to remove the grounds.
- The resulting liquid is your cold brew coffee ground fertilizer.
Using the Fertilizer

Now that you have your coffee ground liquid fertilizer, it’s time to use it to nourish your plants. You’ll want to dilute the fertilizer before applying it to your plants. The correct dilution ratio will depend on the type of plant you are fertilizing.
Dilution Ratios
The strength of your coffee ground fertilizer will vary depending on how much coffee grounds you used, the type of coffee grounds, and how long you let them steep. It’s always best to start with a weak solution and gradually increase the concentration if needed.
Using coffee grounds to create a liquid fertilizer is a great way to give your plants a boost of nutrients. The nitrogen, phosphorus, and potassium in coffee grounds can help your plants thrive, especially those that prefer acidic soil.
If you’re looking for some beautiful plants to add to your outdoor patio, consider some of the best hanging plants for outdoor patios. These plants will add a touch of greenery and color to your space, and you can use your homemade coffee ground fertilizer to keep them healthy and vibrant.
- General Purpose:A good starting point for most plants is a 1:10 dilution ratio. This means you will mix one part coffee ground fertilizer with ten parts water.
- Acid-Loving Plants:Plants like blueberries, azaleas, and rhododendrons prefer acidic soil. You can use a stronger solution of 1:5 for these plants.
- Veggies:For vegetables, a 1:10 dilution is generally safe. However, you can also use a weaker solution of 1:20, especially for seedlings.
- Houseplants:Houseplants are sensitive to over-fertilization. Start with a 1:20 dilution and increase it gradually if needed.
Applying the Fertilizer
There are several ways to apply your coffee ground fertilizer to your plants:
- Watering:You can simply pour the diluted fertilizer onto the soil around your plants. This is the easiest and most common method.
- Foliar Spray:You can also spray the diluted fertilizer directly onto the leaves of your plants. This can be helpful for plants that are struggling or need a boost. Make sure to spray the underside of the leaves as well.
- Soaking:For potted plants, you can soak the entire pot in the diluted fertilizer. This allows the roots to absorb the nutrients more efficiently.
Storing the Fertilizer, How to Make Liquid Fertilizer with Coffee Grounds
To keep your coffee ground fertilizer fresh, store it in a sealed container in a cool, dark place. It should last for several weeks.
Benefits of Using Coffee Grounds

Coffee grounds, a byproduct of brewing coffee, are a valuable resource that can be repurposed as a natural fertilizer for your garden. They offer numerous benefits for both your plants and the soil.
Soil Improvement
Coffee grounds improve soil health in several ways:
- Enhancing Soil Structure:Coffee grounds, rich in organic matter, contribute to improving soil structure. They bind soil particles together, creating air pockets that enhance drainage and aeration, preventing waterlogging and promoting healthy root growth.
- Increasing Soil Acidity:Coffee grounds are acidic, with a pH range of 4.5 to 6.5. This makes them suitable for acid-loving plants like blueberries, azaleas, and rhododendrons. By adding coffee grounds to the soil, you can adjust the pH level to create an optimal environment for these plants to thrive.
Coffee grounds, a byproduct of your morning brew, can be repurposed into a nutrient-rich liquid fertilizer for your plants. To make this, simply combine used coffee grounds with water and let it steep for a few days. This natural fertilizer is particularly beneficial for hanging plants, as they often require extra care due to their limited access to soil.
For additional tips on nurturing your hanging plants, check out our guide on Best Tools for Taking Care of Hanging Plants , which covers everything from watering techniques to the right tools for pruning. Once you’ve mastered the art of caring for your hanging plants, you can use this coffee ground fertilizer to give them an extra boost and ensure they thrive.
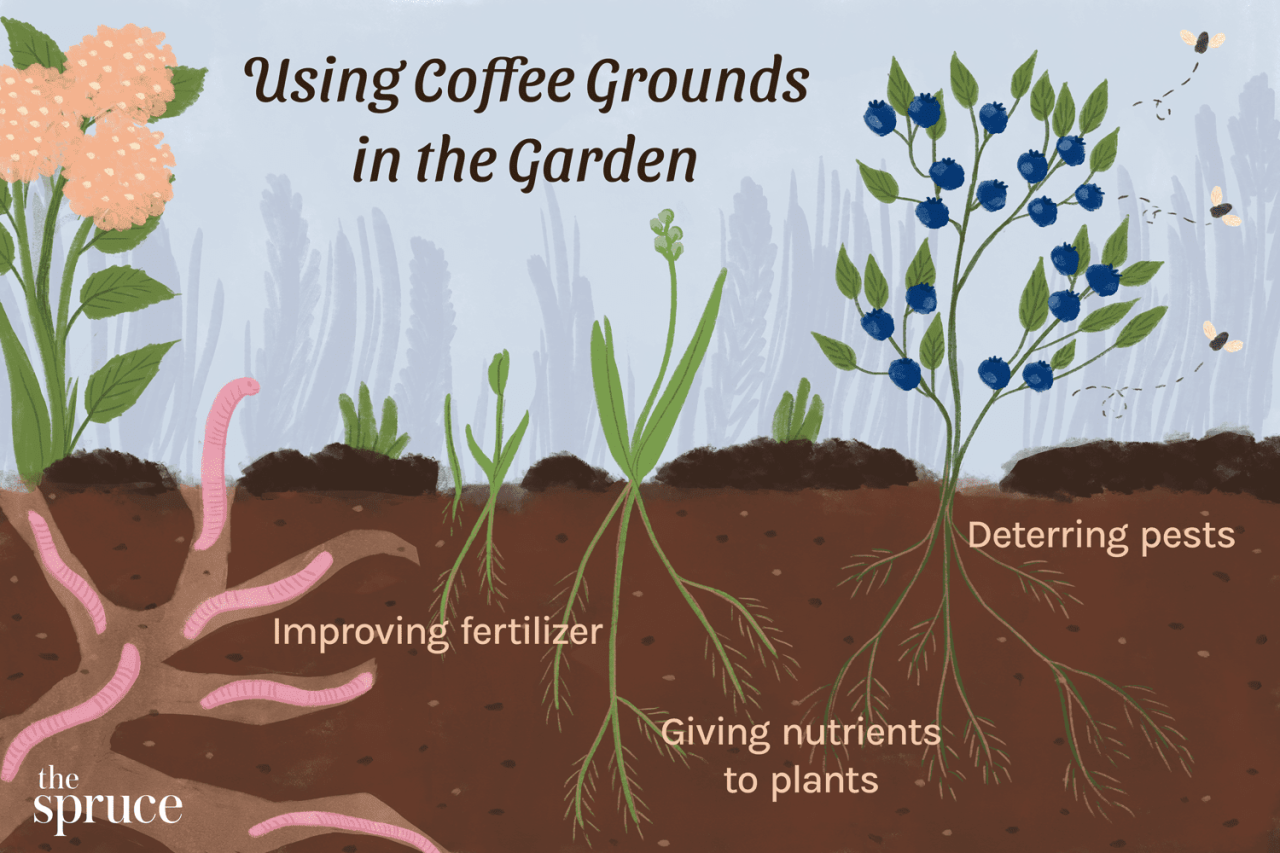
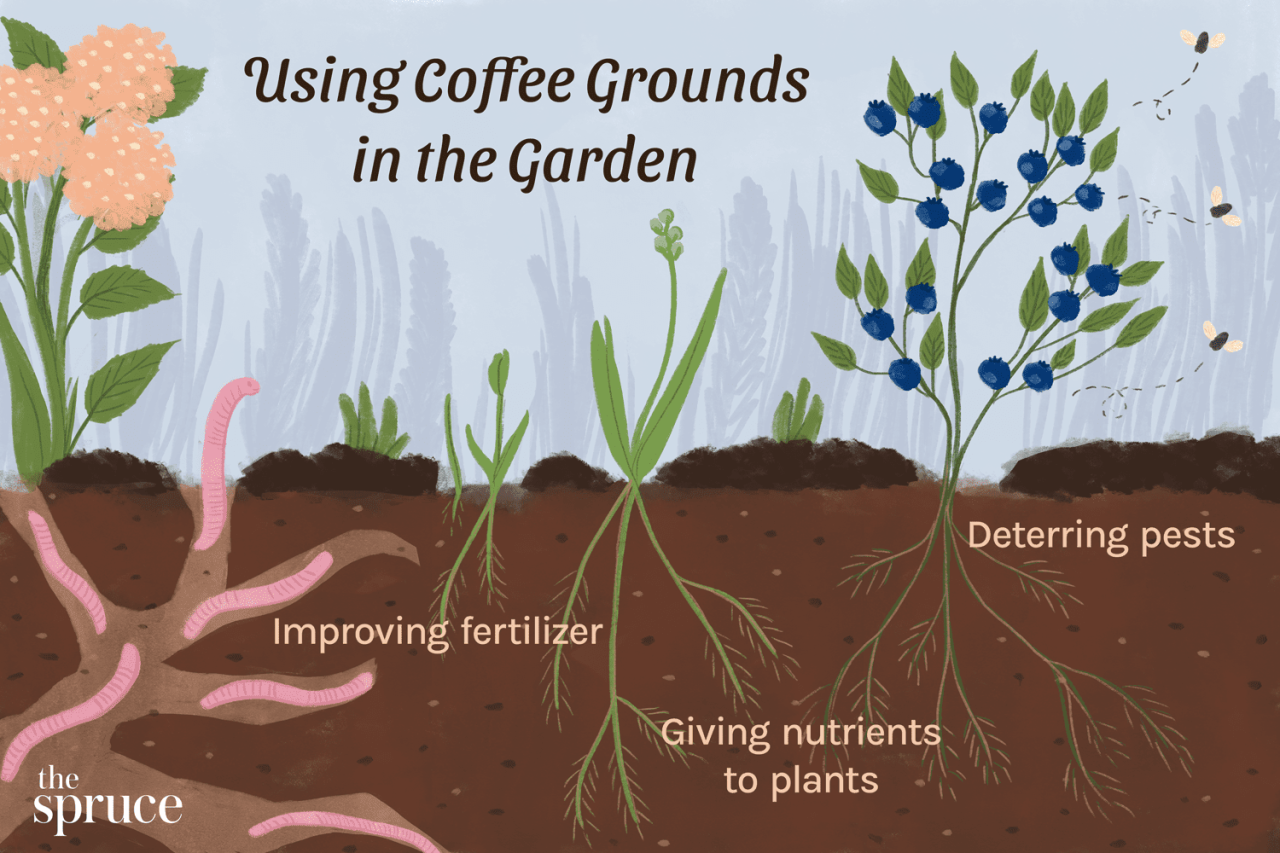
- Improving Soil Nutrient Content:Coffee grounds contain essential nutrients for plant growth, including nitrogen, phosphorus, and potassium. While not as potent as commercial fertilizers, they gradually release these nutrients over time, providing a steady supply to your plants.
- Boosting Microbial Activity:Coffee grounds stimulate microbial activity in the soil. The organic matter in coffee grounds provides food for beneficial microorganisms, such as bacteria and fungi, which play a crucial role in nutrient cycling and decomposition.
Plant Growth Promotion
Coffee grounds have a positive impact on plant growth:
- Stimulating Root Development:The improved soil structure and nutrient content provided by coffee grounds promote healthy root growth. This allows plants to absorb water and nutrients more efficiently, leading to better overall growth and vigor.
- Improving Plant Health:Coffee grounds contain natural fungicides and pesticides, which can help protect plants from diseases and pests. This reduces the need for chemical treatments, promoting a healthier and more sustainable gardening practice.
- Increasing Bloom and Fruit Production:For flowering and fruiting plants, coffee grounds can enhance bloom and fruit production. The nutrients and microbial activity stimulated by coffee grounds contribute to a more robust and productive plant.
Precautions and Considerations: How To Make Liquid Fertilizer With Coffee Grounds

While using coffee grounds as a fertilizer can be beneficial, it’s crucial to be aware of potential drawbacks and exercise caution to avoid negative impacts on your plants.
Over-fertilizing is a common concern with coffee grounds, as they are rich in nitrogen. Excess nitrogen can lead to stunted growth, leaf burn, and even plant death. Therefore, it’s essential to use coffee grounds sparingly and to ensure they are properly composted before applying them to your plants.
Avoiding Over-fertilizing
To prevent over-fertilizing, it’s crucial to understand the nitrogen content of your coffee grounds and the specific needs of your plants. Different plants require varying levels of nitrogen for optimal growth. For example, leafy greens and vegetables benefit from higher nitrogen levels, while flowering plants require less.
- Start with a small amount:Begin by adding a small amount of coffee grounds to your soil, observing the plants’ reaction. If you notice any signs of over-fertilization, such as yellowing or wilting leaves, reduce the amount of coffee grounds you use.
- Dilute the coffee grounds:Mix coffee grounds with water to create a liquid fertilizer, allowing you to control the concentration of nitrogen. This method allows for more precise application and reduces the risk of over-fertilizing.
- Alternate with other fertilizers:Don’t rely solely on coffee grounds for fertilization. Rotate with other organic fertilizers like compost or manure to provide a balanced nutrient profile for your plants.
Proper Composting
Composting coffee grounds before using them as fertilizer is essential for several reasons. Firstly, it reduces the risk of over-fertilizing, as the composting process breaks down the nitrogen content. Secondly, it eliminates the potential for pests and diseases associated with fresh coffee grounds.
Lastly, composting coffee grounds helps to create a rich, nutrient-rich soil amendment that benefits your plants.
- Mix with other materials:Combine coffee grounds with other organic materials like leaves, grass clippings, and food scraps. This creates a balanced mix for optimal composting.
- Maintain moisture levels:Keep the compost pile moist but not soggy. Regular watering is essential for proper decomposition.
- Turn the compost regularly:Turning the compost pile ensures proper aeration and helps to break down the materials more quickly.
- Patience is key:Composting takes time, typically several weeks to months. Allow the coffee grounds to fully decompose before using them as fertilizer.
Ultimate Conclusion
Making liquid fertilizer with coffee grounds is a rewarding and eco-friendly way to nourish your plants. By utilizing this readily available resource, you can contribute to a more sustainable gardening practice while promoting healthy plant growth. Remember to use the appropriate dilution ratios and avoid over-fertilizing to maximize the benefits of coffee grounds as a fertilizer.
Clarifying Questions
Can I use fresh coffee grounds for fertilizer?
It’s best to use coffee grounds that have been composted or aged for a few weeks. Fresh coffee grounds can be too acidic and may harm some plants.
How long can I store the liquid fertilizer?
Store the liquid fertilizer in an airtight container in a cool, dark place. It should last for several weeks.
Can I use coffee grounds on all plants?
Coffee grounds are generally safe for most plants, but some plants, like blueberries and azaleas, prefer acidic soil. If you’re unsure, it’s best to test a small area first.
